

One of the many things I love to collect are old suitcases. I find modern luggage utterly repulsive and refuse to use it. Of course being that I live in small quarters this does cause a problem with storage. I keep out of season clothes under my bed along with wrapping paper, and other than my closet there is no where else to store it. So all my luggage is stored on the shelf in my closet. It does serve a functional purpose holding odds and ends that have no other home. When I move (ha! sigh...), I plan on using it as furniture/storage, but for now it just sits there neglected wishing it got to travel more than it does. On Friday I went to a festival (post coming!) and I brought along all those reusable shopping bags that I store in my luggage (that should really be in my car!), so my suitcases were littering the ground, needing to be put away, but I decided I would procrastinate and play around online instead. It ended but being rather fortuitous!
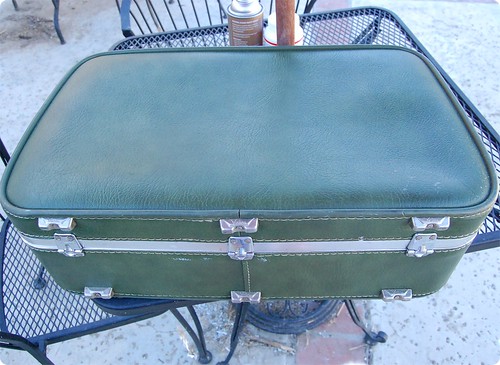
Last night I was browsing one of my favourite photo groups on Flickr, Granny Chic, and saw this image. I actually squealed when I saw it! I even have an avocado green suitcase that was is need of some TLC. So last night I got together the things I would need and this morning I went at it.
You Will Need:
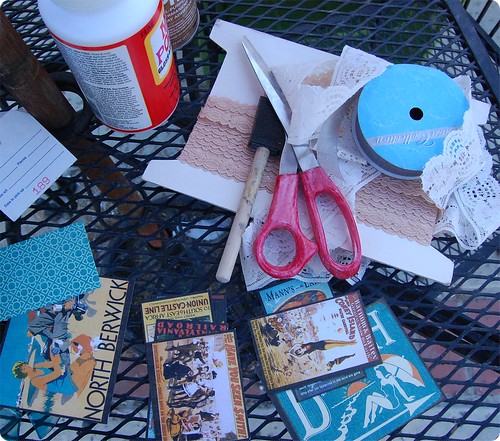
- Suitcase
- Scissors
- Craft Spray Adhesive
- "Clippings": I used scrapbooking paper from my stash, but you could just go through a magazine and clip out whatever catches your fancy!
- Mod Podge
- Ribbons/flat lace
- Sponge/Sponge paintbrush
- Damp rag
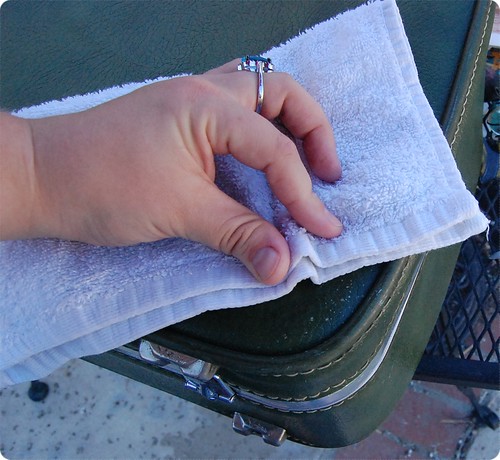
First I gave the suitcase a good cleaning with a damp rag and a little bit of soap. If the suitcase is in need of a little TLC and has scuffs or markings that won't come off, don't worry, you will cover these. Just make sure to get any dust or dirt off it so you have a nice clean surface.
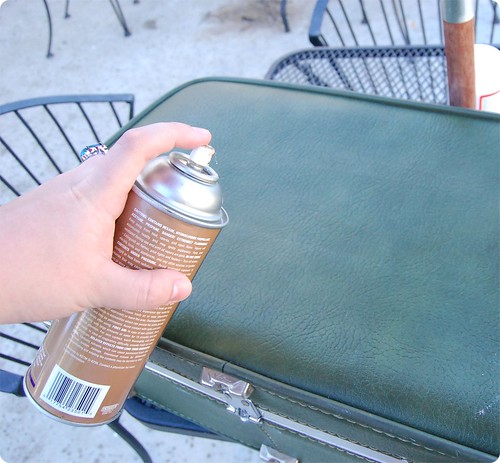
Next I sprayed the surface with the spray adhesive. This is going to give you a base to stick everything to that is not permanent. If you put something on it and then don't like the placement, you can easily remove it without causing anything any damage.

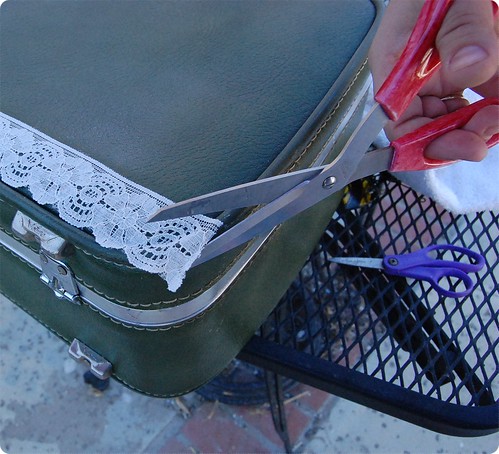
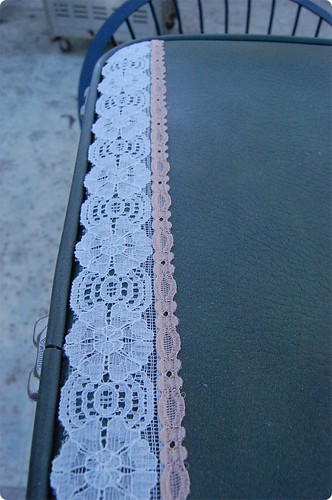
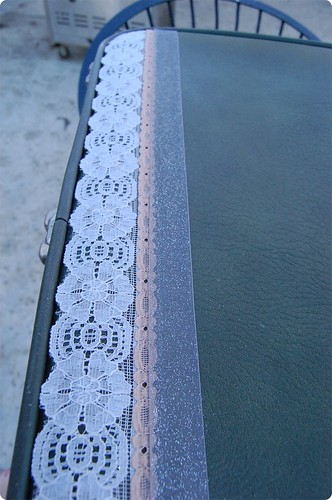
After I applied a thin coat of the spray adhesive I placed my lace and ribbon on and then trimmed it to fit the curves of the case. Because I layered my laces I sprayed the adhesive over each layer so that the next would stick better. But do this very lightly!
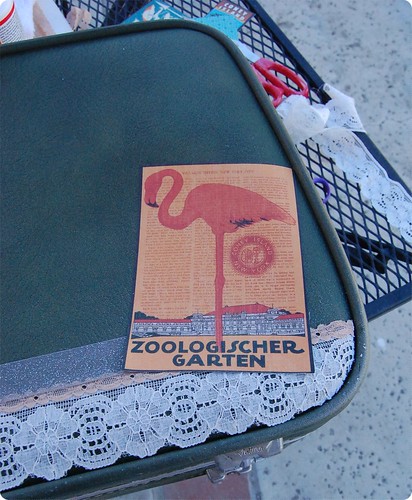
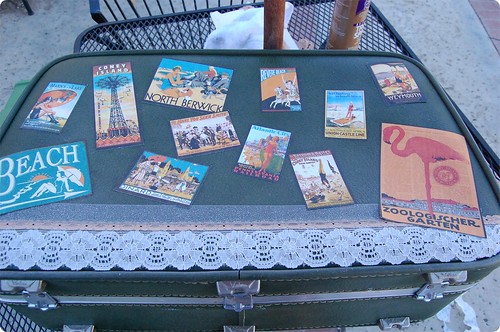
Now comes the really fun part! Place your clippings as you see fit. These ones happen to be from a piece of scrapbooking paper that had all these old adds for resorts around the world. They reminded me of the stickers suitcases used to get at each place they were brought.

Once you've got your layout, get your sponge/sponge brush and give everything a good coat of mod podge. This gives it a nice finish, secures your decorations, and gets rid of the tacky-ness of the spray adhesive. Make sure to cover your ribbons and/or lace too. Let dry and voila! Now you have a completely unique and beautiful suitcase! Just think of how envious all those ugly modern ones will be on your next trip!

Very cute. I love luggage makeovers!
ReplyDeleteOMG, I love it! Tell me you're not actually going to use this pretty baby and instead, it's going to sit somewhere high on top of your closet with out of season wear. It breaks my heart to think the luggage people would ruin it!
ReplyDeleteThat's really clever of you. But my luggage isn't made of the same material as yours. Mine's like it's made up of some tough canvas but I hope you'll have fun with your suitcase wherever you bring it!
ReplyDelete