


What! A post before 10pm? I know crazy! What's even crazier, is tomorrow's post is already done too!
What's up with my being prepared!
We are so close to being done!! By the end of today you should have a dress! So lets hop to it!

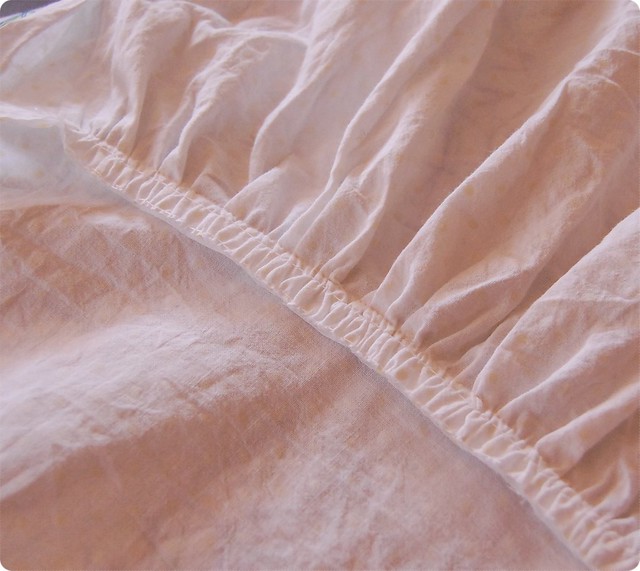
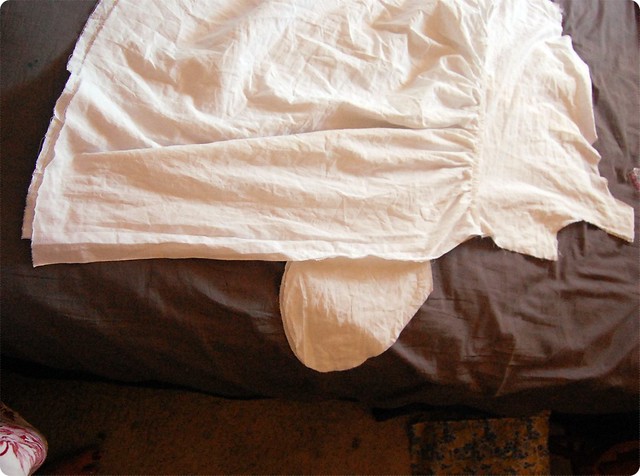
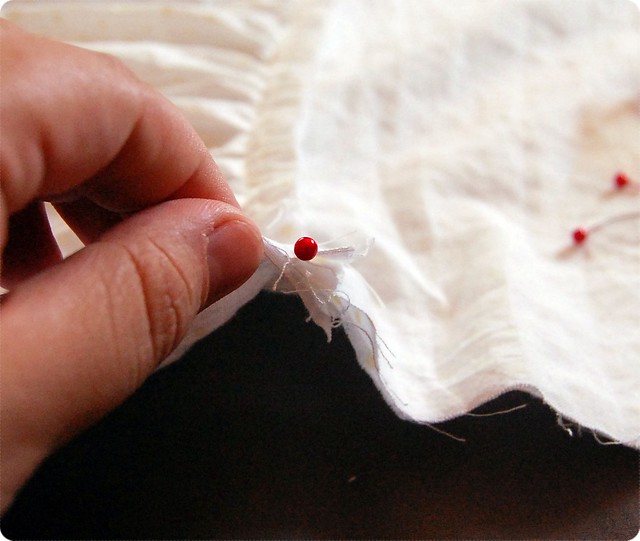
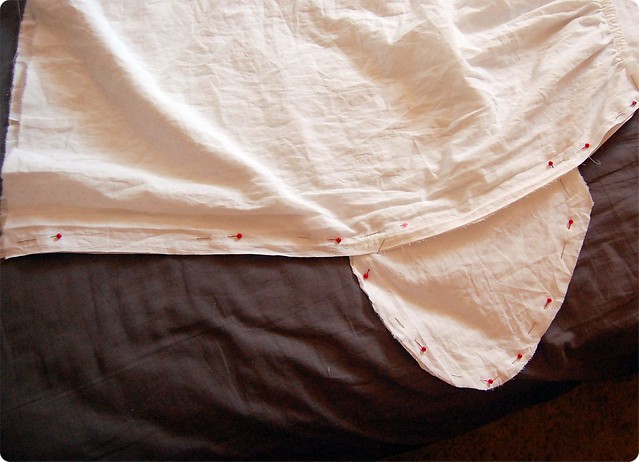
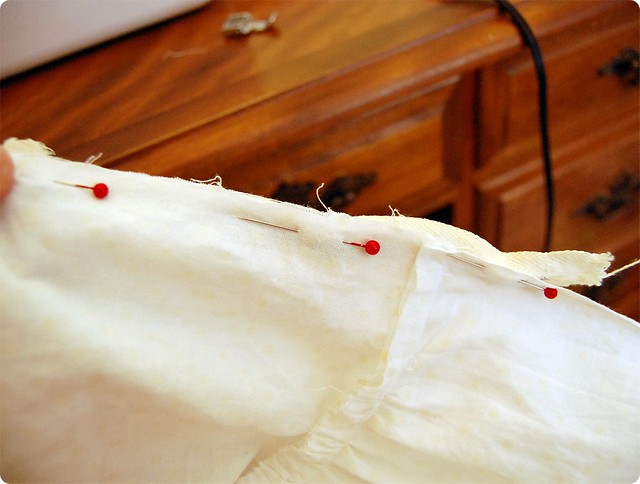
Now that our pockets are attached to each edge of the skirt the next step is to trim the waist to right above the first gathering stitch line. Press this upwards. Now with the right sides of the dress together match the waist seams with a pin to keep it in place. Start to pin down the sides with the pockets out. If you are putting in a zipper make sure to mark where your zip begins and ends with a pin. You do not want to stitch this section. Continue to pin all the way down until you reach the pocket. Once you get to the pocket start pinning in the same manner as before, but around the edge of the pockets. At the end of the pocket pin your pin and an upwards angle, then begin pinning in a straight line from the top of that pin down the rest of the skirt. It should look like this once complete:
Now we stitch. If you are not putting in a zipper, do this for both sides of the dress. If you are putting in a zipper make sure to leave the opening on the Right side of the dress (the inside-out right side. The zip will be on the right-side out left.).
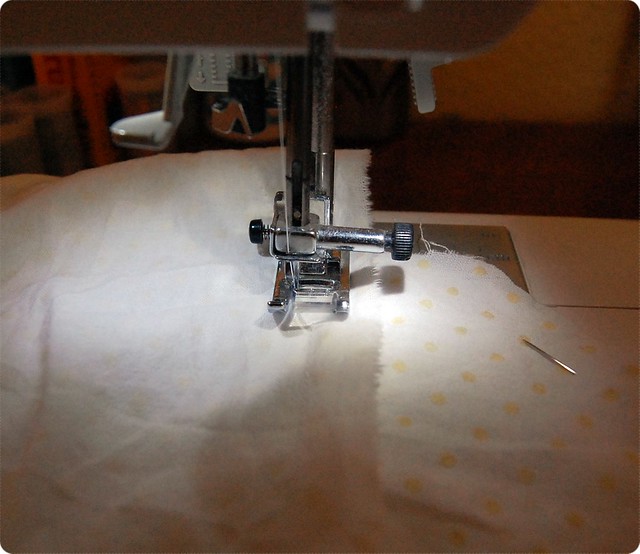
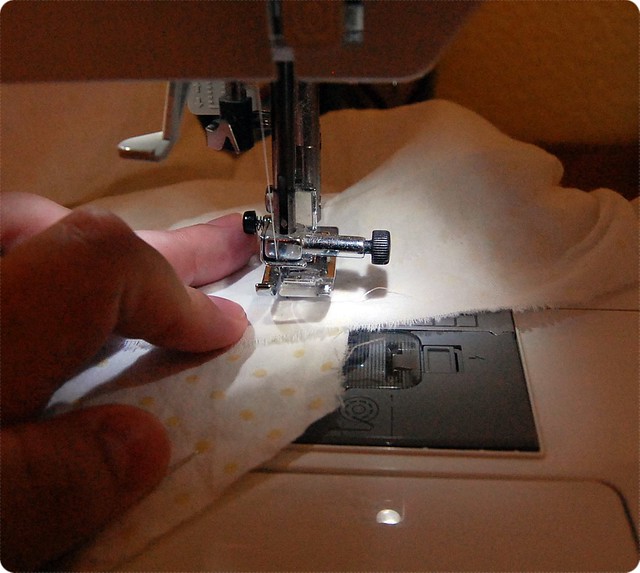
Stitch down the side of the dress until you get to about 1/8 of an inch past the top of the pocket opening. Now you are going to pivot. To do this life the presser foot of your machine with the needle still in the fabric. Turn your fabric so you are now stitching across the top of the pocket. As you curve down you may need to pivot a few more times. When you get to your final pin in the pocket, angle your stitch upwards following the direction of the pin. At the top pivot again so that you are now stitching down the side of the skirt. Stitch all the way down to the hem.
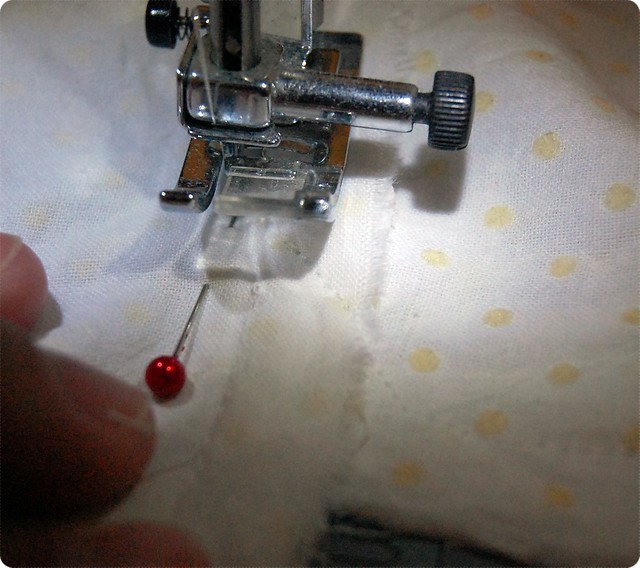

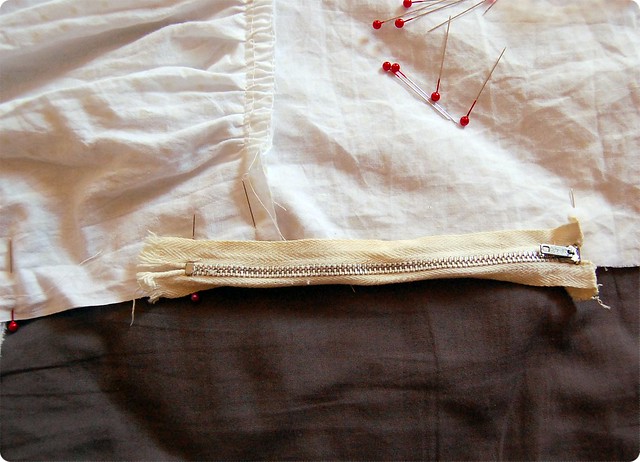
On the right side of the dress begin to stitch as above, stopping at the top of the zipper mark and cut your threads. Begin stitching again at the bottom zipper mark and follow the directions above.
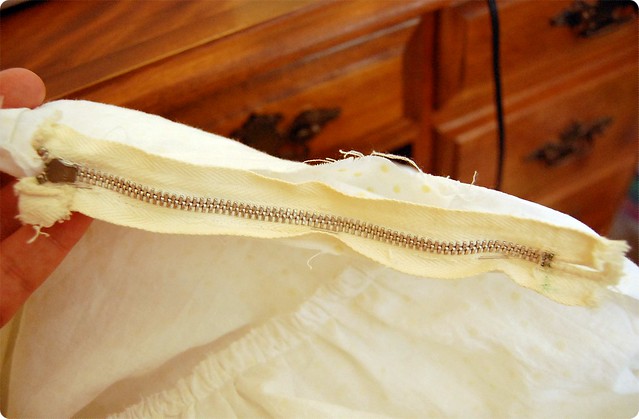
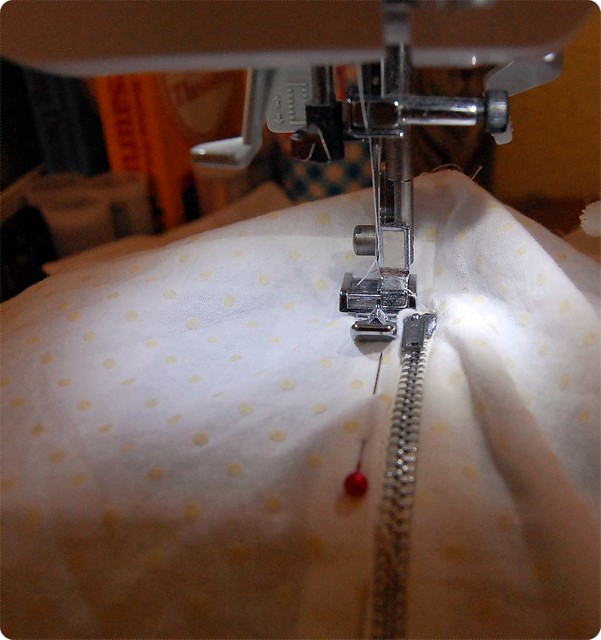
Alright here's where it can get a bit confusing (only because of my explaining skillz). Turn your dress right side out. Now lay your zipper Right Side down on the back of your dress so that the right side of your zipper and dress are together. Pin the zipper down right next to the teeth. Now you stitch it using your zipper foot. Stitch right along the side of the teeth. When you're done you should be able to fold the zipper out, seam at the back, and other half of the zipper ready for the front bodice piece. Fold the edge of the remaining side of the zipper opening and pin to the zipper right next to the teeth. Now stitch that in place (make sure to open your zipper up unlike someone we might know...). When you get to the bottom of your zipper, pivot the fabric and stitch along the bottom to secure it. Confused yet? Then just follow the directions that came with your zipper (or if like me you are using a vintage zipper, google it. But really I hope I made that clear enough!)

Okay ladies, so now you have 99% of a dress. Tomorrow we'll cover hemming and finishing the arm and neck openings!
Remember if you have any questions shoot me an email, or leave a comment!
No comments:
Post a Comment