

I apologize for being MIA this week. Time just seemed to slip away from me! But I wanted to show you all a cute little DIY project.
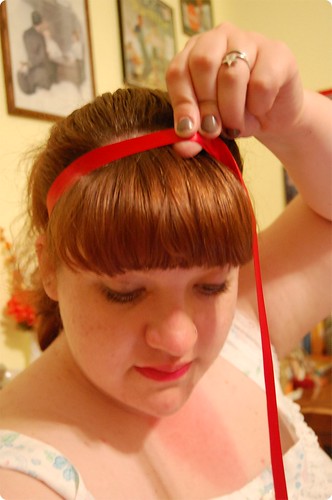
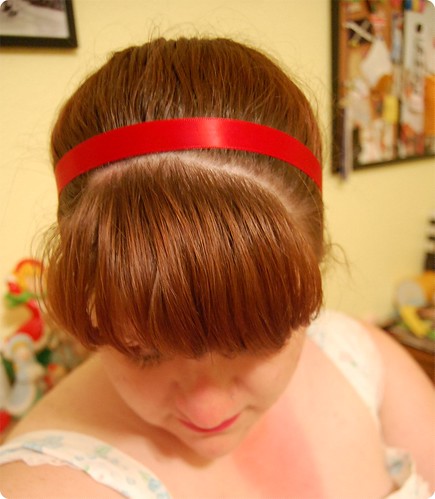
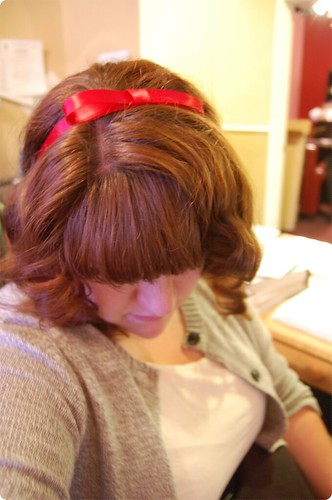
I have a really weirdly shaped head and those cute wrap-around headbands never seem to fit or stay put. So I decided to make my own that are shaped specifically to my head. The end result is pretty cute and very vintage-y! If you make one I'd love to see it!!
You will need:
Ribbon of any width
matching thread
needle
scissors
metal snaps or hook and eyes (you may need more than one depending on the width of you ribbon

Step One:
Measure out the amount of ribbon to fit to your head. Add an inch to that.
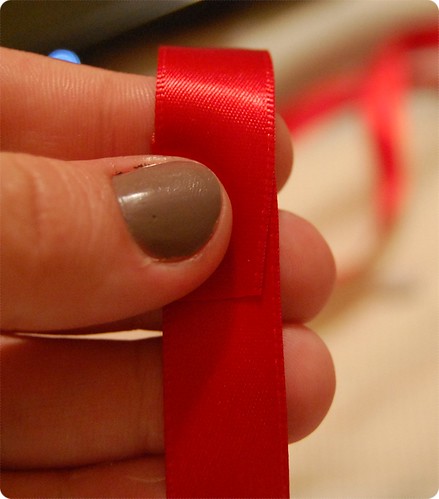
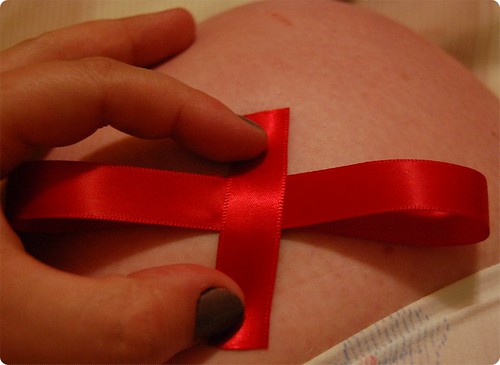
Step Two:
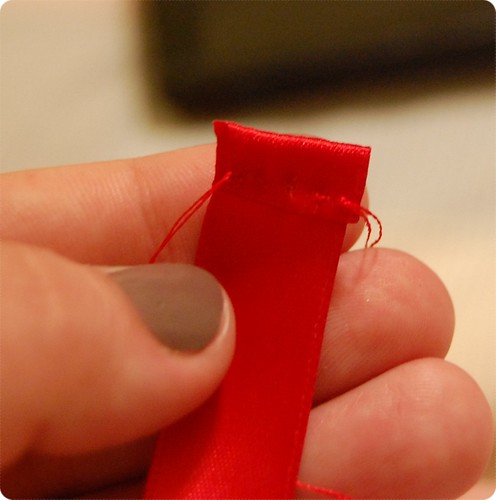
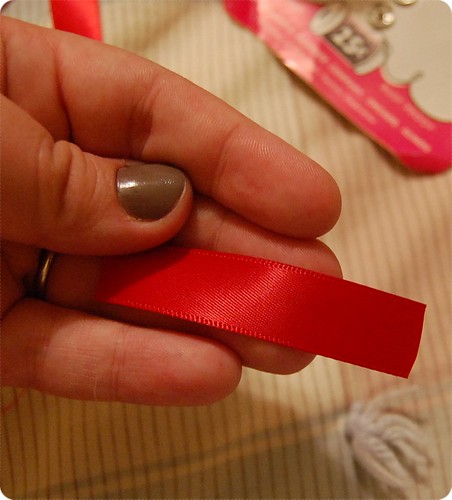
Double fold the ends about 1/4 of an inch in length and stitch down.
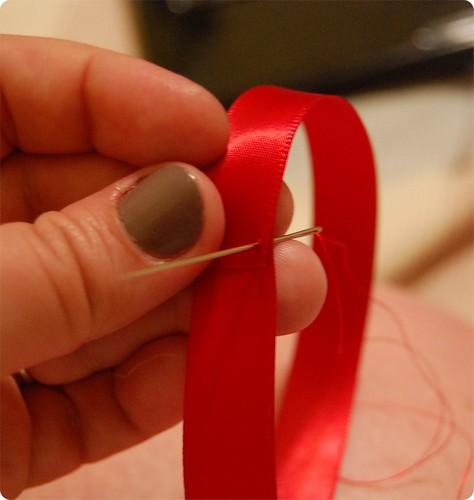
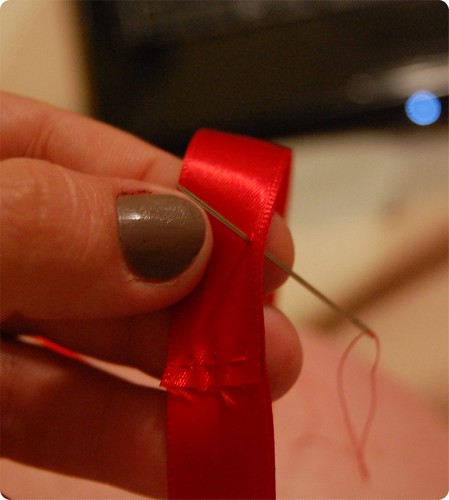
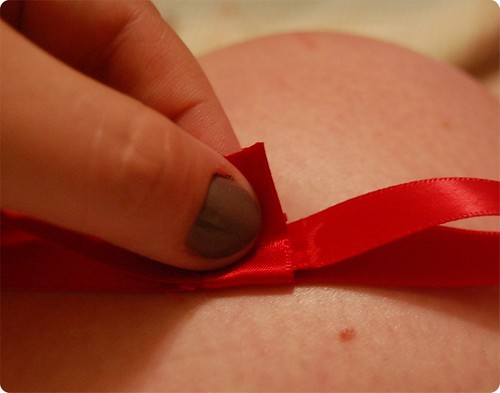
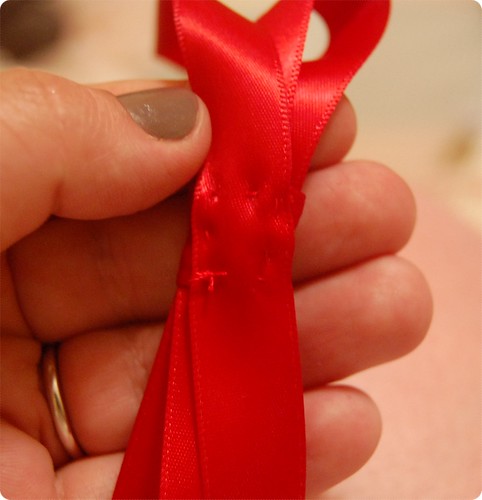
Step Three:
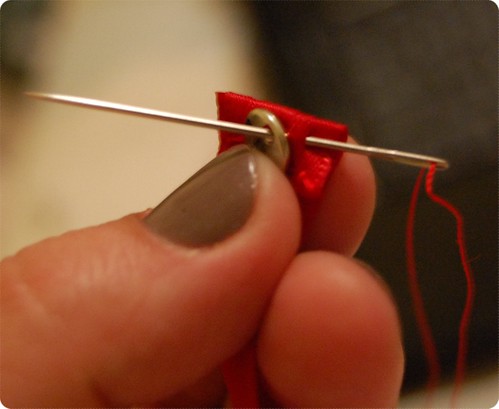
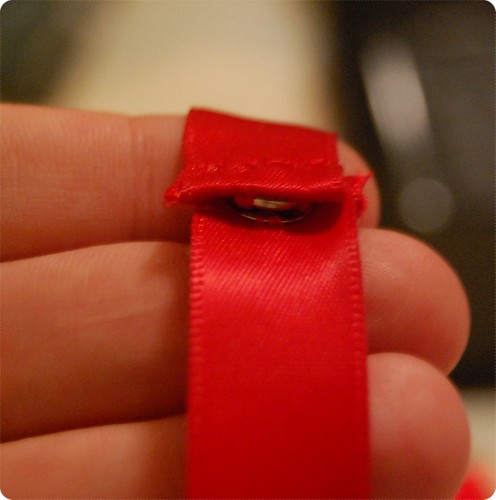
Stitch on your hock and eye or snap. Make sure you only go through the folded layers of the ribbon. This gives it a more polished look
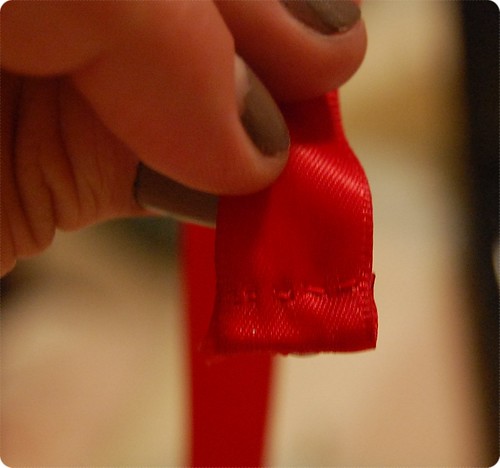
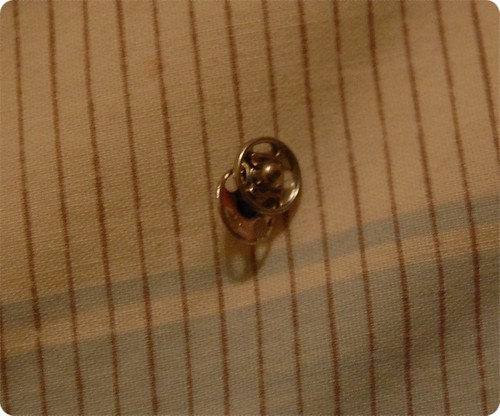
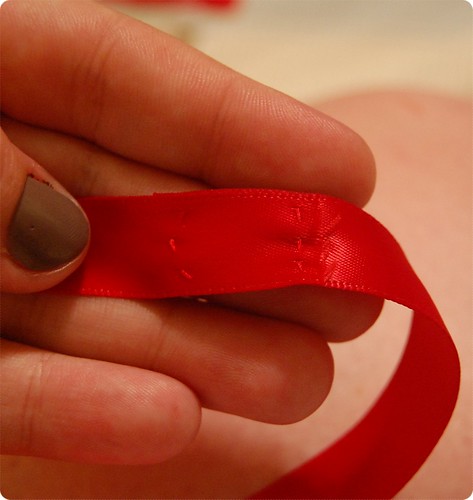
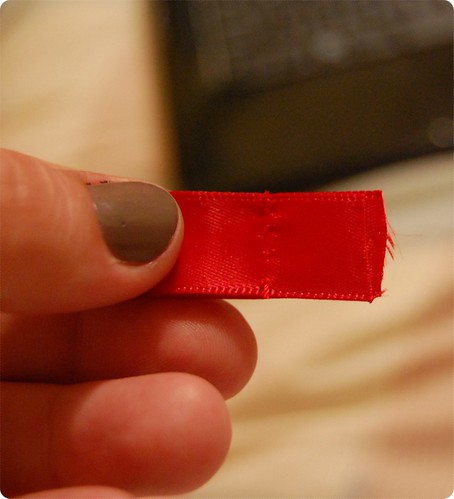
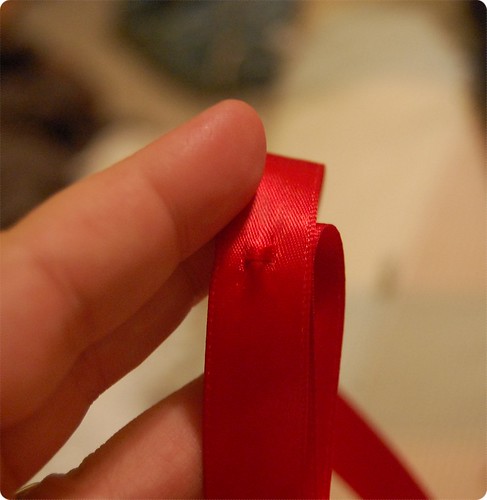
The top of your ribbon should look like this with no obvious stitches from the snap
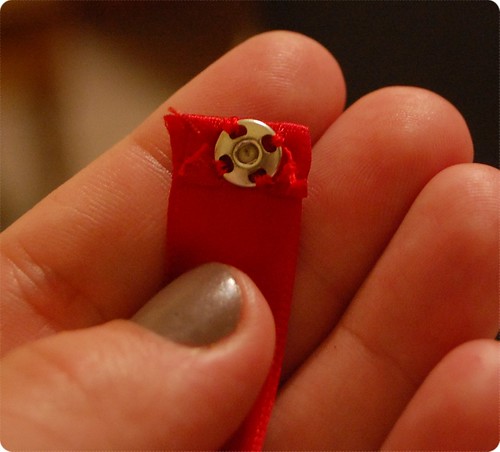
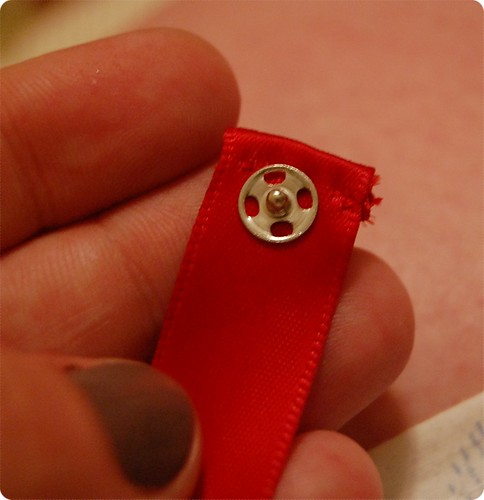
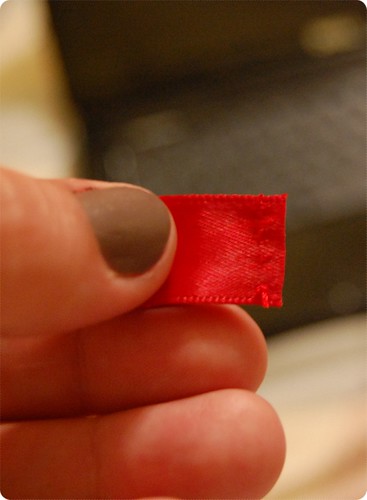
Step Four:
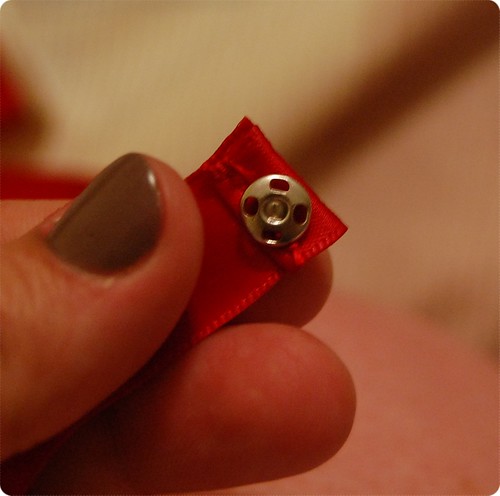
Place the other half of your snap or hook and eye on the top on the ribbon. You can go through the whole ribbon if you prefer, though it does look nicer to go through just the top layer.
Once you've stitched your snap/hook and eye you're done with the headband part! Want to add a bow? Okay!
Step Five:
Cut a piece of ribbon twice the length you want your bow. And cut a small strip for the middle part. The small piece should be about and inch or so longer than you need it.
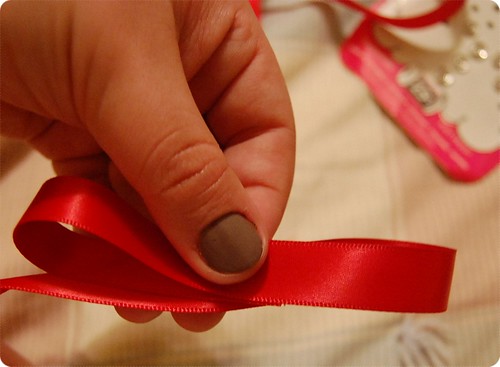
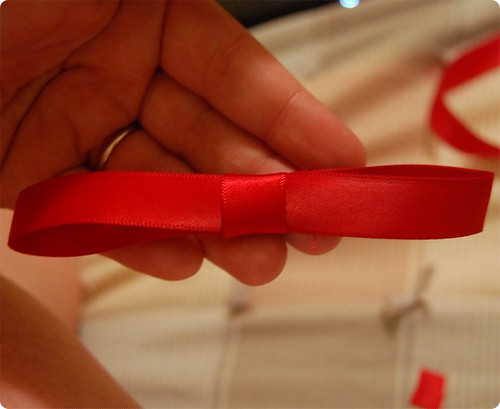
Step Six:
Lay one end of the bow length over the end and stitch down and each end of the ribbons.
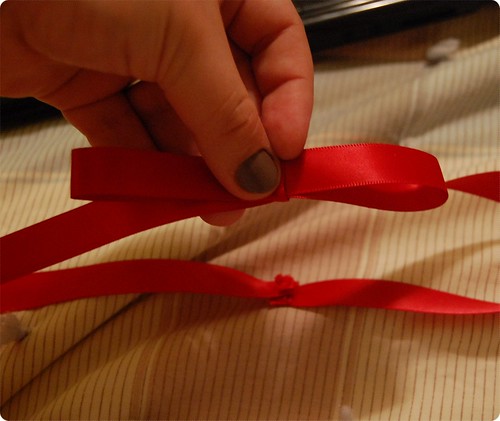
Step Seven:
Fold the middle strip around the middle of the bow wrong side out. Pull up around the bow and pinch where it meets. Slip off the bow and stitch together, then trim the excess ribbon. Flip right side out and slip it back over your bow.
Step Eight:
Decide where you want to place the bow on your headband. turn over and stitch through the bottom layer of the bow middle section in the shape of a square. Tack down the bottom ends of the bow to the headband.
Step Nine:
Wear and enjoy!
very cute! i'm a diyer lover, and i will definately try this...its very ladylike, kinda looks like you stole it from some regency period debautante. lol
ReplyDeleteOh if you do make one send me a pic! I'd love to see what you make up! And actually that's where I got the idea! Watching too much Pride & Prejudice! I just hate the way elastic headbands look so i took some inspiration from those lovely hair trimmings!
ReplyDelete