


We have reached the finish line guys! Yay!
Today we'll be covering hemming and finishing the neck and arm openings.
Let's start with the hem!
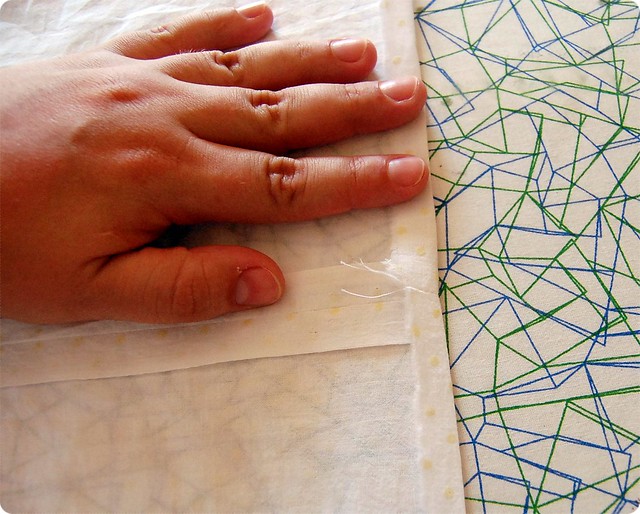
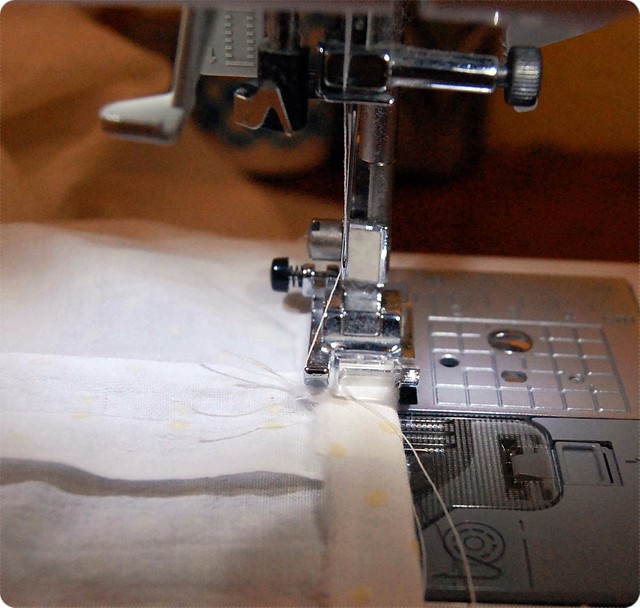
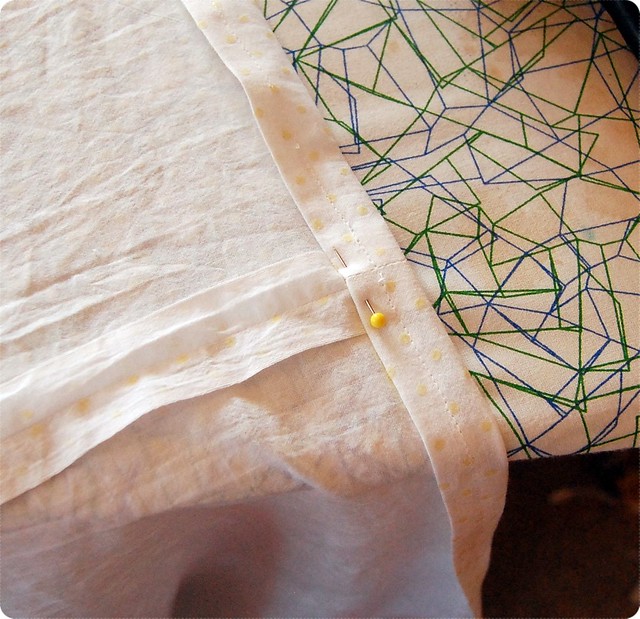
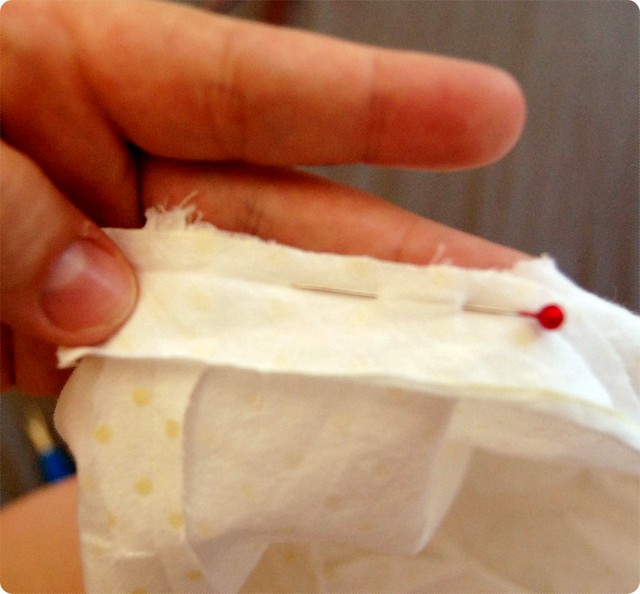
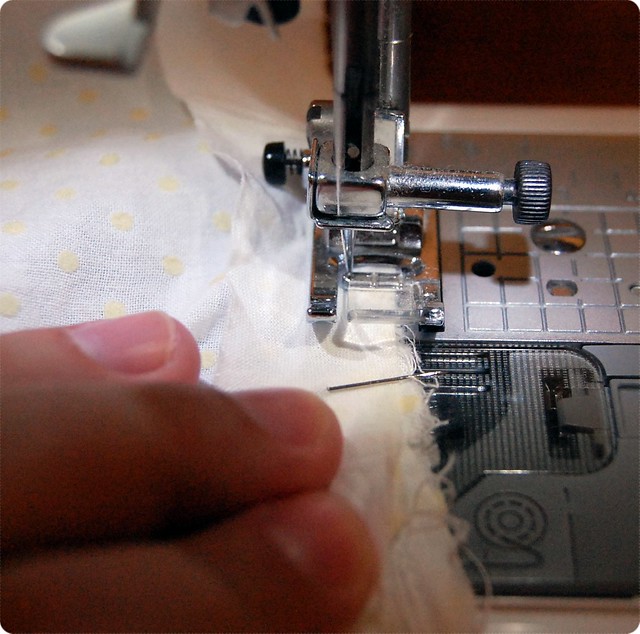
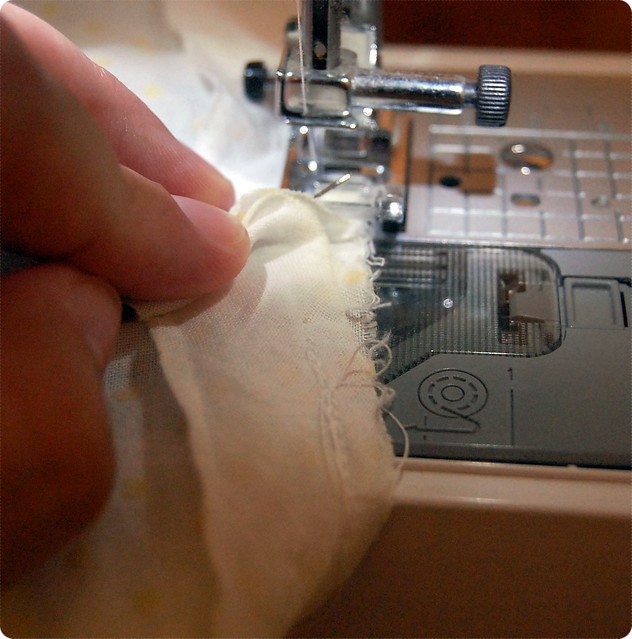
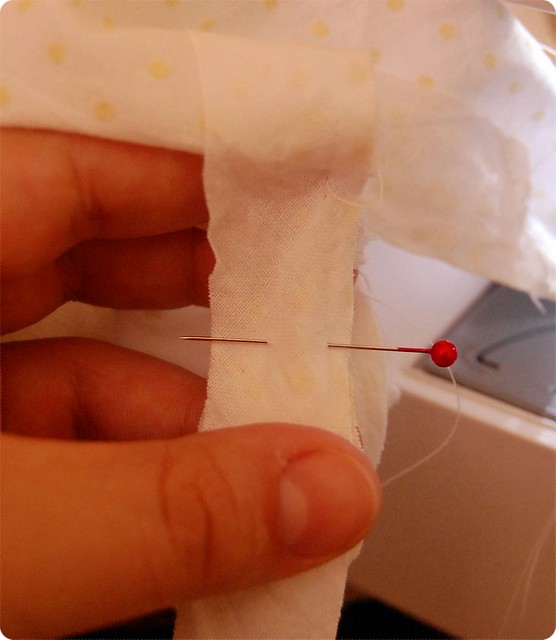
Hemming is my least favourite part of sewing (it's just so tedious!), but it is an important step in giving your garment a clean finish. To make a hem fold over 1/4 of an inch to the inside of the dress. Press and pin as you go around the whole circumference of the the skirt. Stitch this into place close to the top of the fold. At this point you have two options. Th first is to fold over about an inch and press and pin and stitch with a regular straight stitch or a blind stitch on your machine (if you have no idea what a blind stitch is, jut machine stitch it down).
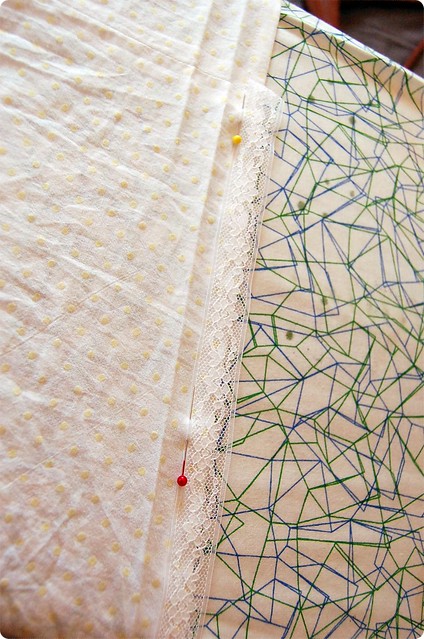
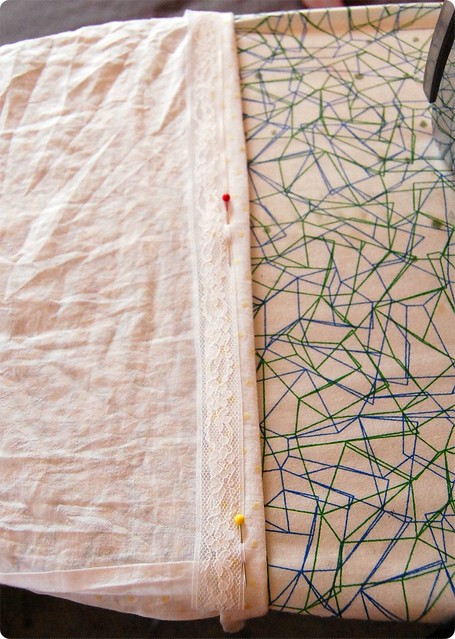
Alternatively you can use hem lace. To use this simply stitch the lace on top of the first fold (on the right side of the fabric) then either hand or machine stitch the lace to the skirt. This is a good option if you don't have a lot of room for a hem since you just fold it over at the bottom edge of the lace.
When you're done clip your threads and voila! You have a hem!
I'm going to give you three options for finishing your neck and arm openings. The first is to simply fold each over twice (like you did with the hem) and stitch that in place. This is what I did on my original dress. However it does look cleaner if you bind or face them.

Binding with Bias Tape:
Bias tape is one of my favourite things. It's just so handy! I made my own, but you can use pre made bias tape also. Here are some tutorials for making your own.
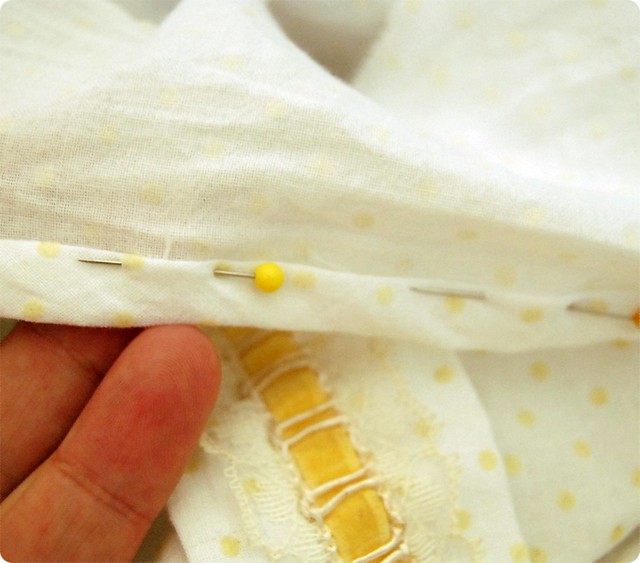
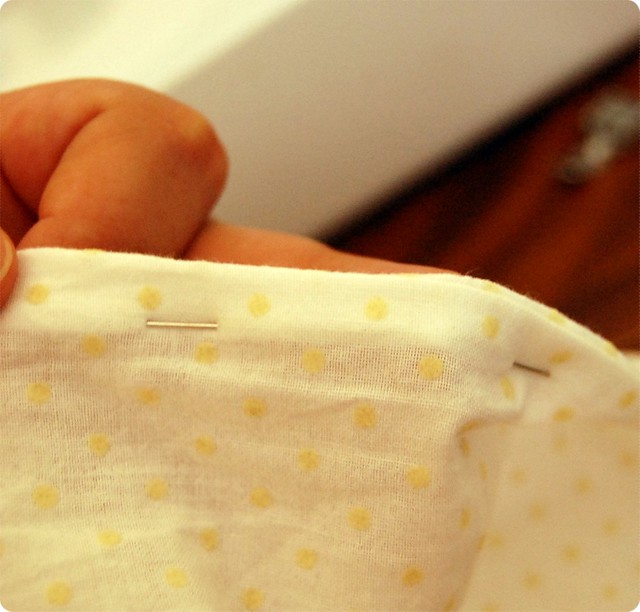
Iron out your bias tape. With the right sides together start to pin your bias tape around the opening. You want to make sure you have at least 1/4 of an inch extra on either end of the bias tape. Start stitching 1/4 or an inch away from the side seam (for the arm openings), stitch around, and then end 1/4 of an inch away from the seam. Now take the extra length and pinch it together where it matches the seam. Stitch together and then finish stitching to the opening. Now fold the bias tape over, folding the bottom part under and top stitching very close to the original stitch line.
Bias Tape as a Facing:
This is what I am doing on my dress. You do everything you did above, only you fold the whole thing inside, folding the rest of the bias tape under. You can machine or hand stitch this down. This is a technique that is commonly used in vintage sewing patterns. It gives you a very nice finish without all the bulk of a fabric facing.
And now we are DONE!!! Wasn't that easy? Monday we'll have our dress up party! I'll be posting my dress Monday morning. Anyone who wants to be included in the dress up party post a link to your dress (blog post or flickr.) and later that day I'll post a collection of everyone's work! Please include if you want your link and name included.
See you Monday!
No comments:
Post a Comment