

Y'know how I am often talking about my ill-proportioned body? Well here's the deal, all my weight hangs out in my gut which is why dresses tend to be more flattering on my figure. and while I'm chunky all over, my gut isn't proportionate to the rest of my body. This is why I hate pants. My legs aren't large enough to fill the legs of pants that are my waist size. So I end up being swallowed in fabric, which as we all know makes you look bigger, especially for someone who is as shortly proportioned as me (My dad and I are fairly sure we have some weird form of Dwarfism. Dwarfs have all short proportions that are pretty much equal to each other, so while I may be a big girl, I can bend over and lay my hand flat on the floor. This greatly amuses dance teachers and yoga instructors alike.) So I have pretty much given up on finding proper pants that actually fit me in stores. I keep planning on making them, but well, I just don't want to. I don't wear pants enough to justify it y'know. And I'm cool with that because it's not like I really love pants anyway. With one giant exception.


Screencaps from Here
(and guess who has
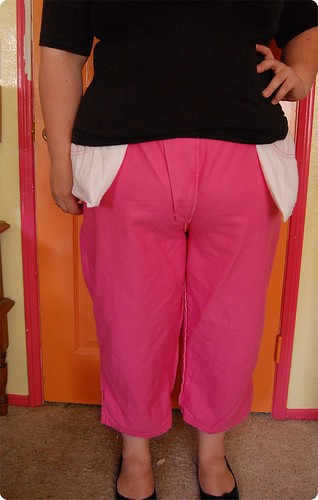
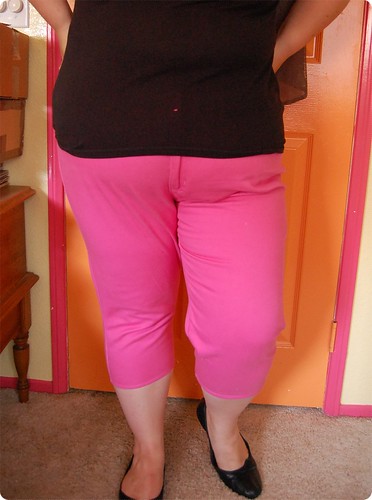
This movie. This movie. This movie is pretty much everything I dreamed as a kid. International Jewel heist? Check! Hunky English guy in 60's swim trunks? Check! The mind blowing setting of the ruins of Ancient Greece? Check! Mentioning Ethno-Musicology? Check! Lies, deception, midday cocktails, and being drugged? Check! Killer wardrobe? Check! The Moon-Spinners is still one of my favourite movies, and always will be. I just love it! (and it only takes about five minutes of meeting me to figure this out!) And since I was a little girl I have wanted a pair of pink capris. I mean, seriously, pink capris! And of course the fact that they are 60's capris make them all the more cool, with their slim Audrey fit, and totally obnoxious colour. Someone give me a fan, cuz I just might faint. I have been searching for fabric in the perfect shade of pink to make my own to no avail. So when I happened into Goodwill on a whim and just happened to see a pair in a near perfect colour, in my size, well obviously it is fate right? Right. Ish. See they were really baggy in the legs, even though they fit pretty well everywhere else (they're a tad loose in the waist, but I can live with that for now). I took them home anyways figuring I'd just re-cut them which is where this tutorial came from (now that I have waxed on forever). So if you have a similar problem this is a quick and easy fix. The most advanced sewing skills you need is how to stitch a straight line. Seriously! So let's get started!
You will need:
Sewing machine
Thread
Scissors
Pins
Pants (duh)

Step One:
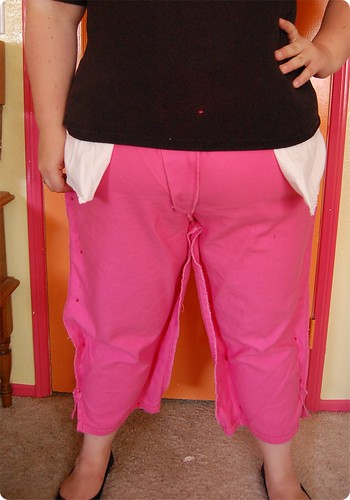
Try on your pants inside out and determine where the most excess fabric is. For me this was in the crotch area (I hate that word, someone please invent a nicer sounding one). If it is for you start right at the center seam at the crotch (ugg) and pin the extra fabric together for a comfortable fit (and try not to pin yourself. trust me). Taking one leg at a time, start pining the extra fabric down the side until about mid thigh. Take the pants off now and pin down the rest of the leg. Once you've done this, try them on again (inside out) and check the fit. Adjust as needed. If you feel like there is still too much fabric on the other side, pin in the same manner. I wanted mine to have a very slim fit, so I took in both sides.
Step Two:
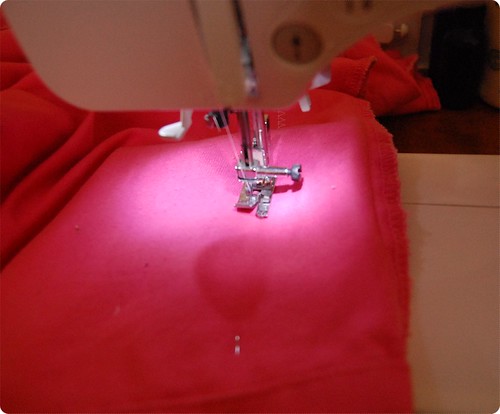
If your pants are, like mine, jeans, make sure you have thread and a needle appropriate for the task. I used the overlocking stitch on my machine, but you can also use a straight stitch. Sew following the line of your pins, making sure to back stitch at the ends.
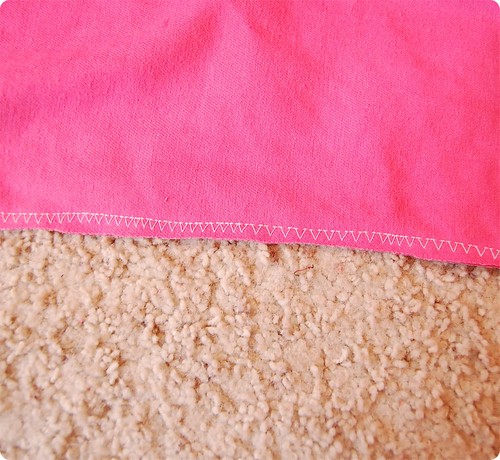
Step Three:
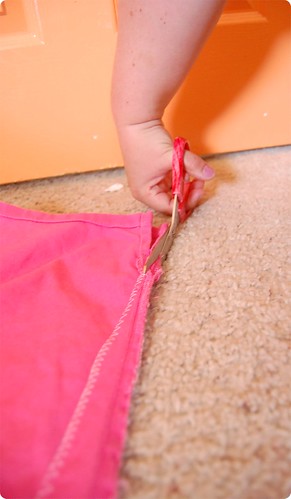
Try on the pants to make sure that they fit correctly. I ended up having to take mine in quite a bit more, but if you take it one leg at a time, it's very easy. Trim away the extra fabric, as close to the stitch line as possible if you overlocked. If you used a strait stitch trim, then fold out the seam allowance and press to set. And you're done. If you need to hem your pants, do this now by cutting about 1/2 an inch longer than your desired length. Press 1/4 over and stitch into place. Fold the remaining 1/4 inch and top stitch. This took me about an hour to do the whole thing (even with the extra fitting)! Now go rock your pants!
aww they look so good im abit sad now tho cus i ordered a pair of beige chinos that iv wanted forever and they were huge on the "crotch" sorry i had to say it there really isnt another word lol
ReplyDeleteif id seen this tutorial i wouldnt of had to send them back.
either way you look great in them really summery.
I love this! I have the same fitting problem! Plus being vertically challenged nothing fits right.lol Thank you so much for this tutorial!
ReplyDelete